

I will never forget the April morning I found my entire flat of 'Brandywine' tomatoes flopped over like tiny green flags of surrender. Twenty-eight seedlings I'd nursed under grow lights since February — gone in a single afternoon. I'd moved them straight from my kitchen windowsill to the south-facing bed on the first genuinely warm day we had: sixty-two degrees and a stiff breeze. How bad could it be? I thought. It could be very bad, as it turns out. That was my first lesson in hardening off seedlings, and it cost me a whole month of growing season.
The Science Teacher Who Had to Learn Her Own Lesson
I spent thirty years teaching eighth-grade life science in central Vermont. I explained photosynthesis, plant cell walls, and transpiration to hundreds of twelve-year-olds who mostly wanted to know when lunch was. I kept meticulous lab notes. I graded on precision. So when I finally converted the family's back half-acre into a proper market garden, I assumed I already knew what I needed to know about plants.
What I didn't have was humility. And as any experienced grower will tell you, the garden has an unfailing way of providing that — usually at the worst possible moment, and always with an audience.
The Flat of Tomatoes I Thought I Could Rush
That first spring on the farm, I started my tomatoes and peppers indoors right on schedule — eight weeks before last frost, under full-spectrum grow lights in the spare room. They came up beautifully. By early May I had sturdy little plants with their first true leaves, reaching for the light. I was proud of them the way you're proud of a good student who finally gets it.
And then I got impatient. We had a warm spell — three days in a row above sixty degrees — and I decided the tomatoes were ready. I carried the whole flat outside at ten in the morning and set it right in the sunny garden bed. By two o'clock, every plant had wilted flat. I watered them frantically. By four, most had come back, sort of. But the damage was done — sunscald on the leaves, windburn on the stems, and a general air of trauma that set them back two full weeks.
My neighbor Dale, who has been growing vegetables in this valley for forty years, watched me from the fence with the expression of a man trying very hard not to laugh. "You did harden those off first, right?" he said. I told him I wasn't sure what he meant. He handed me a cup of coffee and we had a very educational conversation.
What Hardening Off Actually Means (and Why Plants Need It)
Here's the science, because once you understand why this works, you'll never skip it again. A seedling that has grown indoors under artificial light has never felt wind. It has never experienced direct UV radiation from the sun. Its stomata — the tiny pores in the leaves that regulate water and gas exchange — are wide open all the time, because there's nothing to make them close. The cell walls in the leaves and stems are thin and soft, perfectly suited to the stable, sheltered environment of a grow room.
Put that plant outside suddenly and everything changes at once. The wind whips the leaves and pulls moisture out faster than the roots can replace it. The direct sun, even on a mild day, is ten times more intense than your best grow light. The temperature swings between morning and afternoon. The plant, which has never had to deal with any of this, simply can't cope. It wilts, it scorches, it might die. Not because it's a bad plant — because it was never given a chance to adapt.
Hardening off is the gradual process of introducing seedlings to outdoor conditions over one to two weeks, giving them time to toughen their cell walls, train their stomata to close against wind and sun, and build the physical resilience they'll need to thrive in the ground. It is not complicated. But it cannot be rushed.
- → Days 1–3 — Shaded and sheltered: Set seedlings outside for just one to two hours in a spot protected from direct sun and strong wind — a covered porch, the shade of a north-facing wall, or the lee side of a barn. Then bring them back inside.
- → Days 4–6 — Dappled light, longer exposure: Move to a spot with morning sun but afternoon shade. Extend outdoor time to three to four hours. Watch for wilting — if leaves droop, bring them in immediately and back off a day.
- → Days 7–9 — Morning direct sun: Now they're ready for a few hours of direct morning light. Keep them out four to six hours total. Begin checking the overnight forecast — if temps will drop below fifty degrees, bring them in.
- → Days 10–12 — Full days outside: Leave them out from morning until early evening. Let them experience the full temperature swing of a spring day. Keep a watchful eye on the forecast.
- → Days 13–14 — Overnight (if frost-free): If your last frost date has passed and overnight lows stay above fifty, leave them out overnight. After two or three nights, they're ready to go in the ground.
Start Earlier Than You Think You Need To
The most common mistake is starting too late and then rushing the final stages when planting day arrives. If your transplant date is May 20th, start hardening off on May 5th or 6th. Give yourself a buffer — the weather does not care about your calendar, and a cold snap can set you back three days just like that.
May on My Farm: The Ritual I've Come to Love
These days, hardening off is my favorite two weeks of the whole growing season. I know that sounds odd. But there's something deeply satisfying about the routine of it — the daily checking, the adjusting, the small decisions that add up to healthy plants.
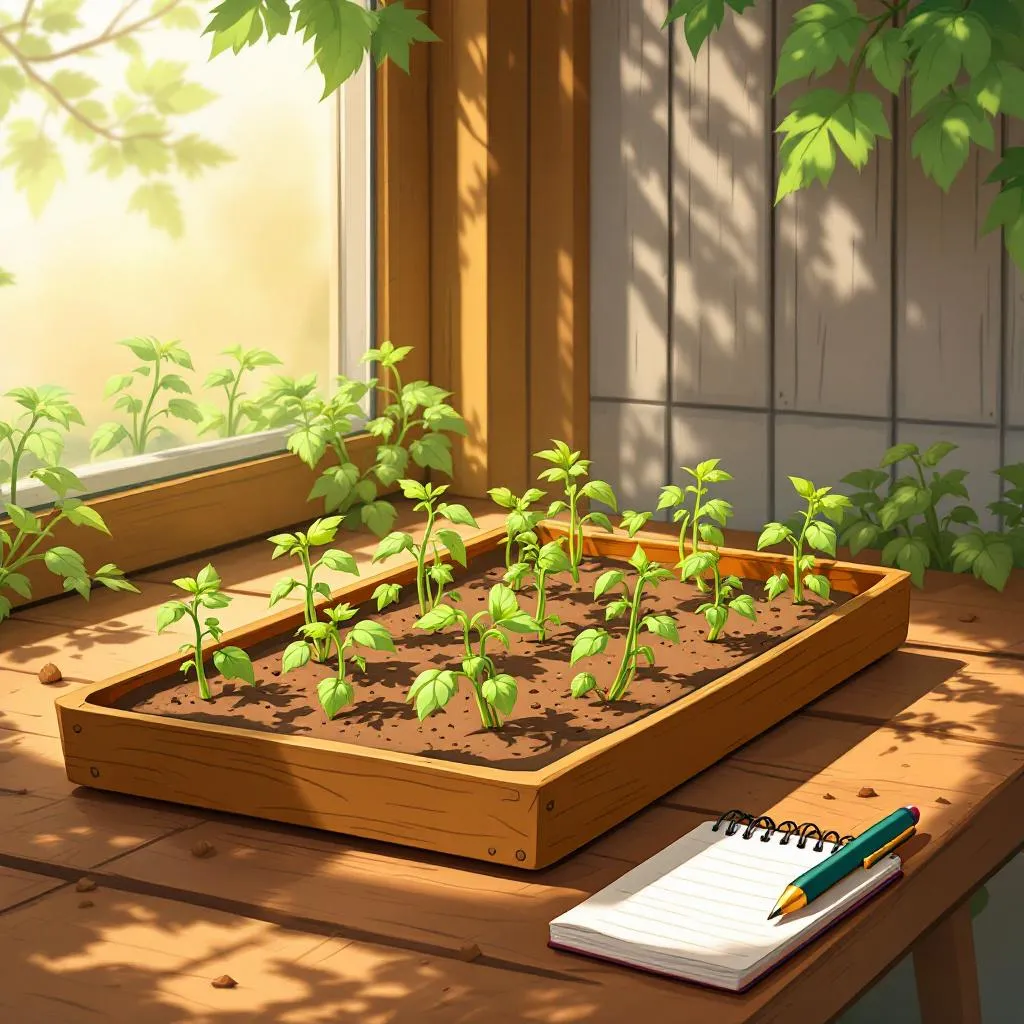
I start around May 10th, which gives me a comfortable two weeks before my average last frost date. Every morning, I carry the trays out to the cold frame I built from old storm windows and two-by-sixes on the south side of the farmhouse. I prop the lid open different amounts depending on the day — wide open on a mild, calm morning; barely cracked if the temperature hasn't climbed past forty-five by ten o'clock. I write everything down in the notebook: temperature at 7 AM, temperature at noon, wind conditions, how each variety looked when I checked. The tomatoes always handle it better than the peppers. The basil I treat like a delicate houseguest for the full two weeks.
By transplant day, every flat has earned its place in the garden. There's a visible difference in the plants themselves — the stems shorter and stockier, the leaves holding their shape in the breeze instead of flagging. You can see them standing up straighter, like they finally know what they are.
"A seedling isn't a houseplant and it isn't a field crop yet. It's something in between — something becoming. Your job is just to not rush that becoming."
— Cora Finch, Seedling Whisperer
Why the Co-op and Sustainable Farms Take This Seriously
When I bring my harvest to the cooperative, every tomato and pepper that makes it to market represents real resources — water, compost, seed, and weeks of labor. Losing transplants to a sloppy hardening-off process isn't just a personal setback; it's waste. The sustainable farms our co-op supports are running on tight margins and careful stewardship. They don't have the luxury of starting over twice.
There's something bigger going on here too. The whole philosophy behind sustainable farming is working with natural systems rather than against them. Hardening off is that philosophy in miniature — instead of forcing a plant to adapt instantaneously to a hostile environment, you give it the time and conditions it needs to adapt on its own terms. That's not coddling. That's respect for how living things actually work.
- → Resource efficiency: Healthy transplants establish quickly and don't need to be replanted, saving seed, soil amendments, and precious labor in a busy spring season.
- → Reduced losses: Farms that skip hardening off can lose ten to thirty percent of transplants. At any scale, that's a significant setback.
- → Stronger crops all season long: Properly hardened plants develop thicker stems and more established root systems. They handle drought, wind, and pest pressure better from day one.
- → Alignment with natural rhythms: Gradual acclimatization mirrors how plants adapt in wild conditions. Sustainable farming is always looking to imitate nature where it can — and nature never moves overnight.
The Mistakes I See Every Spring (Starting With My Own)
I help a few newer growers in our valley every season, and I see the same stumbles over and over — because I made every single one of them first. Consider this your checklist of things not to do.
- → Putting them in direct midday sun on day one: Midday sun in late spring is intense even on a cool day — the UV alone can burn leaves that have never seen it. Always begin with morning light or full shade.
- → Underestimating the wind: Wind is often more damaging than sun in the first few days. It pulls moisture out of the leaves faster than the roots can replace it. Find a sheltered spot, even if it means less sun.
- → Ignoring the overnight forecast: One night below forty degrees can set back pepper and basil seedlings by a week. Always check the overnight low before leaving anything outside.
- → Rushing the final days: You've done twelve days perfectly and now you're eager to plant. Don't skip the last two nights outside — they're what seal the deal on cold-hardiness. Almost done is not done.
- → Treating every species the same: Tomatoes, peppers, and basil all have different cold tolerances. Basil is essentially tropical — it sulks below fifty-five degrees. Adjust your schedule species by species, not flat by flat.
The Leaf Test — My Personal Litmus
Before moving trays to a sunnier, more exposed position, I hold a single leaf gently between my fingers and flex it slightly. If it still feels soft and pliable like a houseplant leaf, I wait another day. After a week outside, there's a slight leatheriness to it — the cell walls thickening up, doing exactly what they're supposed to do. You can't rush leather.
Here's what I want you to take away from all of this: hardening off seedlings is not complicated. It's not a specialized skill. It doesn't require any equipment you don't already have — a tray, some outdoor space, and the patience to carry things in and out for a couple of weeks. What it requires is slowing down in a season when everything feels urgent.
Spring has a way of making you feel like you're already behind. The soil is finally workable, the sun is finally warm, and every instinct says plant, plant, plant. I felt that urgency the morning I moved my Brandywines straight to the garden bed and watched them collapse by afternoon. The garden taught me what I should have already known from thirty years in a science classroom: you cannot skip the steps. You can only do them in order.
Start your hardening off a full two weeks before your transplant date. Go slow on the shade end and conservative on the cold end. Watch the plants, not just the calendar — they'll tell you what they need. And when you finally set that first healthy, sturdy transplant into the warm ground and it stands up straight in the afternoon breeze without even a hint of wilt, you'll understand exactly why it was worth the wait.